Here’s How to Get Your Multi-Material Part Ready to Print
Our Project Engineers have been fielding a lot of questions lately about how we print multiple materials in PolyJet and how to get a file ready to upload for a multi-material part.

Our Project Engineers have been fielding a lot of questions lately about how we print multiple materials in PolyJet and how to get a file ready to upload for a multi-material part.
Polyjet (PJ3D) is one of the most versatile and advanced industrial 3D printing solutions available. To help answer your questions, we’ve created a quick post to show you how Xometry can print multiple materials in one part that can be used to simulate features like co-molded geometries.
How to Prepare Your File
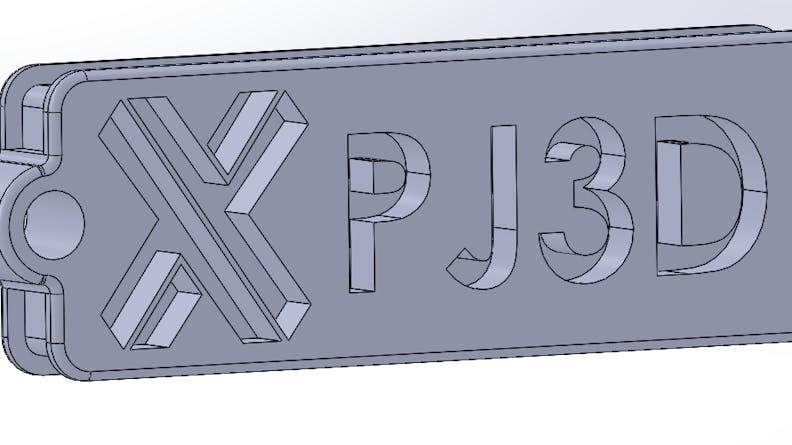
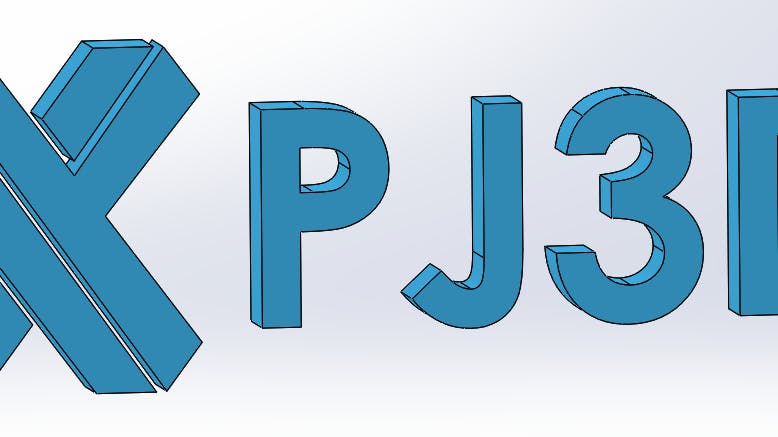
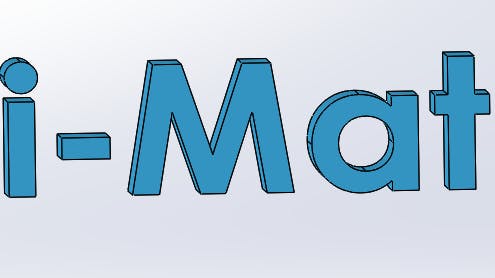
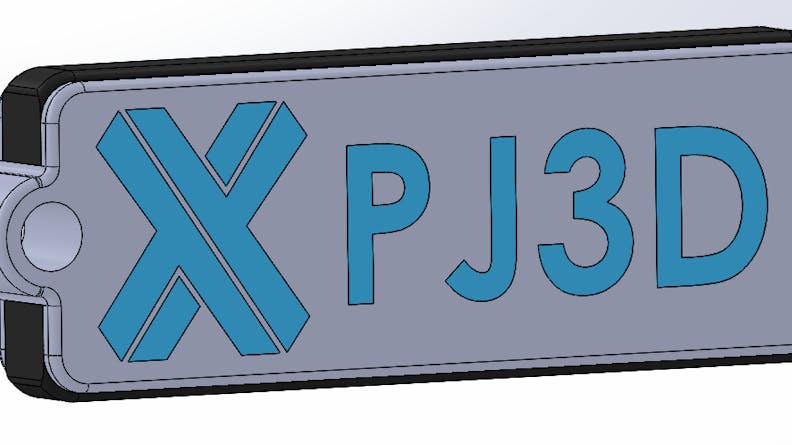
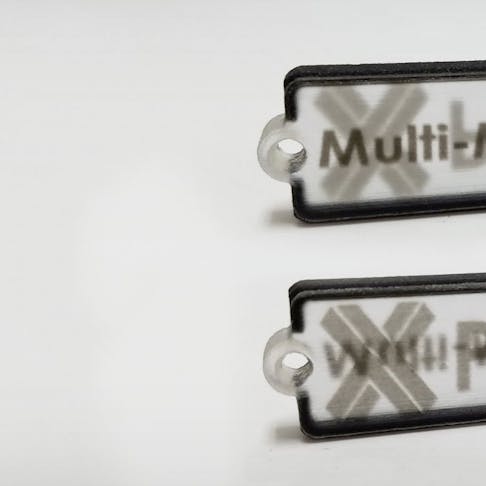
Our machine operators can select and apply multiple materials to a single part as long as it has distinct shells. For example, the text in the images above actually are separate shells which we applied a translucent grey material. The outer border has a rubber-like material, and the main body is our rigid translucent/clear material. Here’s what it looks like from CAD.
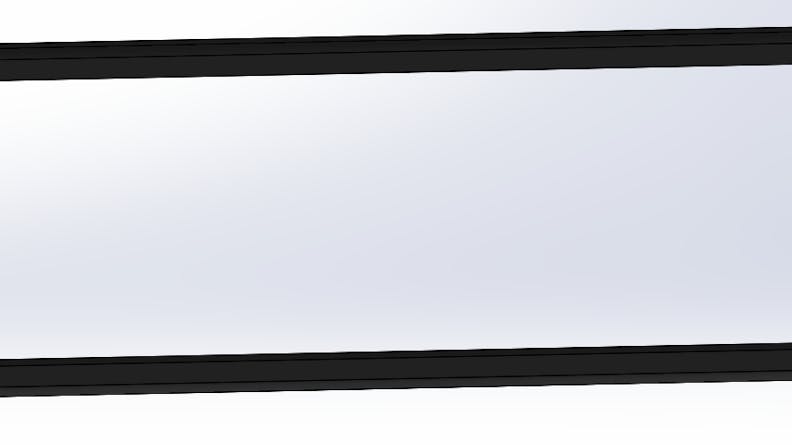
The main body
If a part is to be printed in a multi-material, then the part is designed in CAD as an assembly. Each section of the part that is to be printed in a different material is created as its own part file, then integrated into the final assembly to make the multi-material part. Note: mated parts in the assembly should be flush to surfaces, any gaps will fill with support material and cause cosmetic or mechanical errors.
When the part is completed and ready for submission, Xometry recommends exporting the assembly as a .step file when uploading it to the instant quoting site. This allows all the parts to be contained and managed easily in a single file.
During production, parts are built just as a normal, single material PJ3D part, but with the print head depositing multiple materials at the same time instead of just one.

